Recording prehistoric footprints
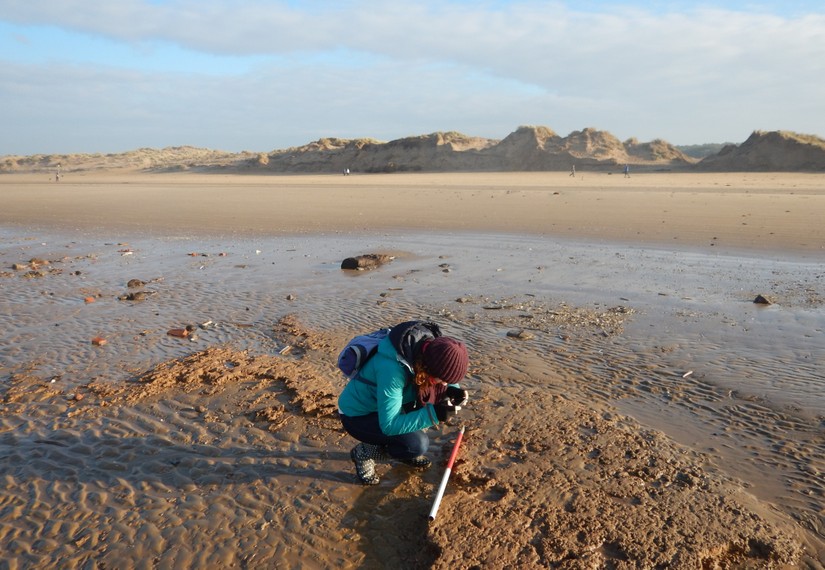
Prehistoric footprints can occur in a variety of environments and be revealed quite suddenly by the tide in peats and clays. However after only a few tidal cycles these fragile features can be washed away so it is very important to record them systematically as soon as they are seen!

This guidance for recording prehistoric footprints was drawn up by Kirsten Barr, a postgraduate research student working on prehistoric footprints in the Department of Archaeology, University of Reading, Whiteknights, PO Box 227 Reading, RG6 6AB.
Click the image below for a downloadable PDF guide:
Be sure you print out several of these targets before you go!
Click the image below for a downloadable target sheet:
Increasingly, evidence of ancient footprints is being found in stratified coastal sediments, especially at low tide, exposed by erosion. The CITiZAN project provides the opportunity to involve more people in the search for this fascinating source of archaeological evidence. It can tell us that people or animals were present at a particular time and period, and about the age structure of human populations in an area and past patterns of animal husbandry. To get the most from this evidence the footprints need to be well recorded.

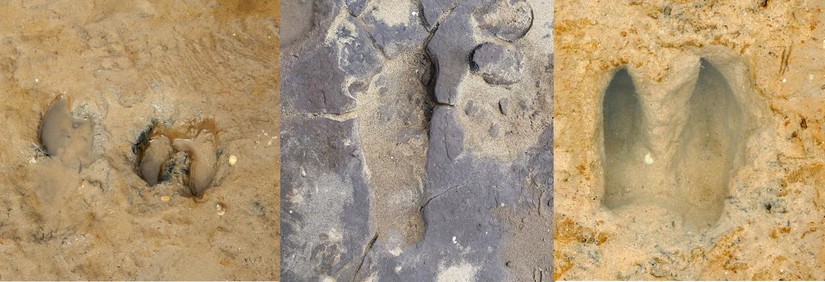
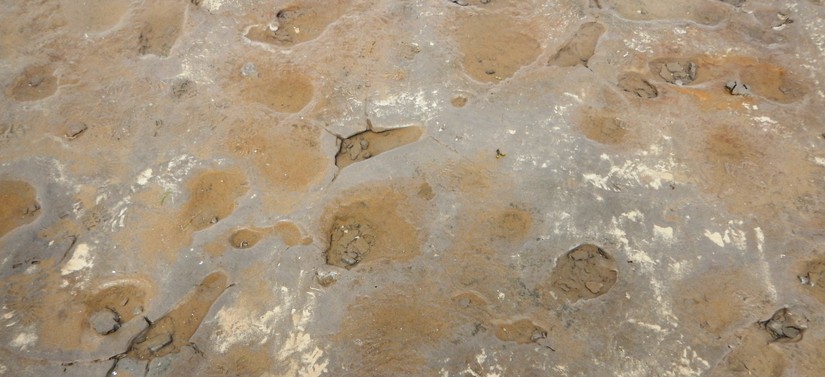
Prehistoric footprints can be found in a variety of situations, however, in the UK the most common find will be from intertidal sediments. Footprints may be of people, wild and domestic animals and birds. The key question is: are the footprints in consolidated sediments which were distorted when they were made but are now consolidated and firm? Or are the footprints in unconsolidated mud and likely to be of very recent origin? Some of the best footprints are found in laminated sediments where there are bands of silty clay separated by thin bands. Human footprints made in this type of environment may be found with an obvious toe, ball of foot and heel indentation. They can also be rather indistinct, only recognisable as footprints because you can see a clear left-right-left-right trail. In any case the process of recording is the same.
The first stage of footprint recording involves general recording:
1. Give the footprint a find number
2. Photograph with a scale bar
3. Determine the orientation of the footprint using a compass
4. Photograph with a north arrow
5. Take GPS co-ordinates using a handheld GPS, your phone, or if you are lucky enough to have access to one, a differential GPS.
6. If you do not have equipment with GPS but you do have a compass then taking the angle between magnetic north and several fixed points which will be on the map is a useful way of establishing location.
(Any archaeological features near the footprints, such as a submerged forest or palaeochannels, should also be noted on a sketch diagram with measured or paced distances where possible).
Once general recording has occurred, the footprint should then be recorded so that it can processed in photogrammetry software. This involves taking multiple pictures from a variety of angles. Specific targets are required to give the best results possible for this technique; these targets can be found in the attached file, which can be printed out and kept with the rest of your archaeology kit, and used if footprints are discovered.
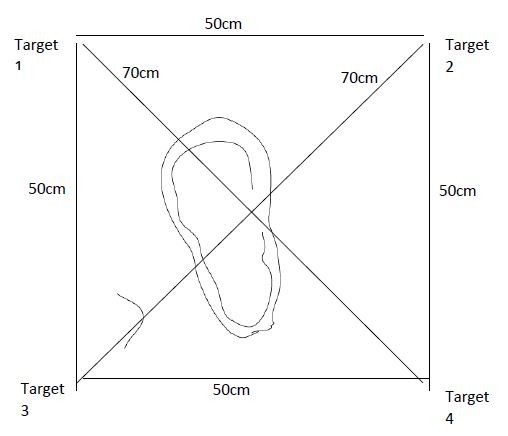
7. Lay the targets out in a square around the footprints. A drawing square can be used to assist in this (50 cm2 are most effective). If you do not have a drawing square then a measuring tape and base line can be used; again creating a 50 cm2 is best for recording a small area. If the footprints cover a large area this can be increased to 1 m2 if needed.
8. Secure each target with a nail and note down each target’s number and its location in reference to the footprint. Make a drawing for easy reference.

9. Measure the exact distance between the white dots in the centre of the targets as this information is sometimes needed when GPS data is insufficient or unavailable.
10. Once you have taken the measurements, if you have a differential GPS with you then you should take the location of each target, by placing the GPS on the white circle in the centre of the targets.
11. You should now take as many photographs as possible, from multiple angles, ensuring photograph overlap. The photographs should be not just from the side but also from multiple angles above.
- Do not use the zoom or flash functions.
- Shoot in RAW if your camera is able, if not use jpeg format.
- A digital SLR camera with a full frame and a fixed angle lens is preferred, but most phones or compact digital cameras today will work fine.
- Each photograph should overlap the last photo’s frame by at least a third.
- If you are using a compact digital camera each photograph needs to overlap the last photograph’s frame by at least a quarter.
- If at all possible use a tripod; however, in intertidal zones the use of a tripod is often impractical so if a tripod proves difficult to manage then freehand is satisfactory.
You should back up the photographs as soon as possible.


